背景介绍
客户要将生产环境上一套副本集架构的 MongoDB 进行迁移,数据量 240GB 左右。经过测试,全量备份耗时 3.5 小时,恢复耗时 4.5小时。
为了减少割接时间,采取全量 + 增量 Oplog 的迁移方式。提前一天进行全备,割接当天只需备份增量的 Oplog 恢复即可,可大幅减少割接窗口。
实操过程
查看 Oplog 信息
检查并评估生产环境 Oplog 的产生信息,以防全量和增量备份期间产生的 Oplog 被覆盖掉。
mongo> db.getReplicationInfo()
{
"logSizeMB" : 20480,
"usedMB" : 20374.38,
"timeDiff" : 7074665,
"timeDiffHours" : 1965.18,
"tFirst" : "Fri Feb 24 2023 18:36:32 GMT+0800 (CST)",
"tLast" : "Wed May 17 2023 15:47:37 GMT+0800 (CST)",
"now" : "Wed May 17 2023 15:47:43 GMT+0800 (CST)"
}
可以看出在 1965.18h 的运行中,产生了 10374.38MB 大小的 Oplog。
全量备份
全量备份并拷贝备份期间产生的 Oplog 用来增量还原。
#!/bin/bash

user=admin
password=123
host=127.0.0.1
port=27017
outputdir=/data/mongobak_`date +%F`
authenticationdatabase=admin
start_time=`date +%s`
mongodump -u$user --host $host --port $port -p$password --authenticationDatabase $authenticationdatabase --oplog --gzip -o $outputdir
stop_time=`date +%s`
duration=$((stop_time-start_time))
echo "Spend times: $duration seconds"
全量恢复
利用全备进行数据恢复。
#!/bin/bash
start_time=`date +%s`
user=admin
password=123
host=127.0.0.1
port=27017
authenticationdatabase=admin
mongorestore -u$user --host $host --port $port -p$password --authenticationDatabase $authenticationdatabase --oplogReplay --gzip /data/mongobak_2023-07-17
stop_time=`date +%s`
duration=$((stop_time-start_time))
echo "Spend times: $duration seconds"
提取增量备份开始的时间点
全备备份出来的 Oplog,可以利用 bsondump 工具将 bson 转换为 json 格式,查看备份时间产生的最后的 Oplog 的时间戳,根据此时间戳来进行增量的 Oplog 备份。
shell> cd /data/ mongobak_2023-07-17
shell> mv oplog.bson oplog.bson.gz
shell> gzip -d oplog.bson.gz
shell> bsondump --pretty oplog.bson > op.json
查看 op.json 文件,找出增量备份开始的时间点。
"ts": {
          "$timestamp": {
                      "t": 1686669429,
                      "i": 4
          }
},
增量备份
备份 Oplog(时间戳大于上一次全备结束时的时间)。
#!/bin/bash
user=admin
password=123
host=127.0.0.1
port=27017
outputdir=/tmp/oplog_`date +%F`
authenticationdatabase=admin
start_time=`date +%s`
mongodump -u$user --host $host --port $port -p$password --authenticationDatabase $authenticationdatabase -d local -c oplog.rs -q '{"ts":{"$gt": {"$timestamp":{"t":1686669429, "i":4}}}}' -o $outputdir
stop_time=`date +%s`
duration=$((stop_time-start_time))
echo "Spend times: $duration seconds"
增量恢复
#!/bin/bash
user=admin
password=123
host=127.0.0.1
port=27017
authenticationdatabase=admin
start_time=`date +%s`
mongorestore -u$user --host $host --port $port -p$password --authenticationDatabase $authenticationdatabase --oplogReplay  /data/oplog_2023-07-17
stop_time=`date +%s`
duration=$((stop_time-start_time))
echo "Spend times: $duration seconds"
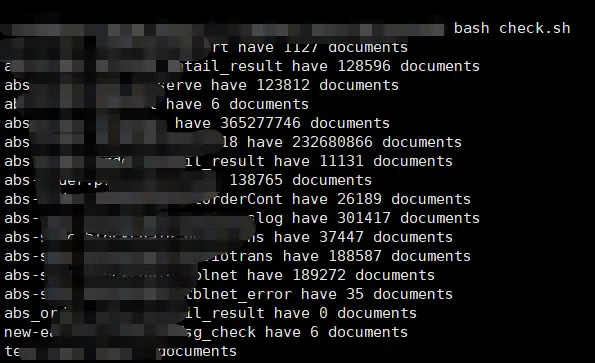
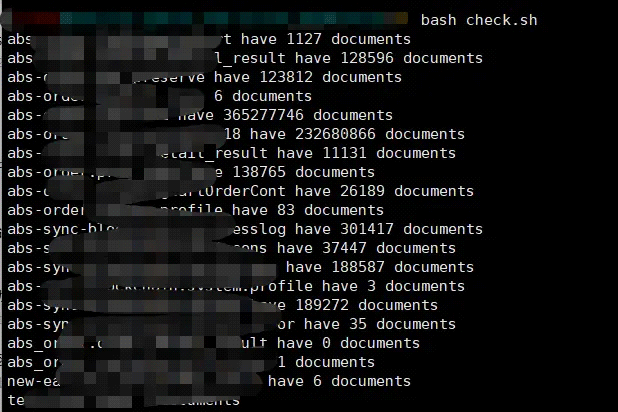
增量迁移后业务文档数量对比
分别在源端和目标端运行脚本,检查迁移完成后业务数据库下文档数量是否一致。
#!/bin/bash
user=admin
password=123
host=127.0.0.1
port=27017
authenticationdatabase=admin
mpid=`pidof mongod`
tooldir=`dirname $(ls -l /proc/$mpid/exe | awk '{print $11}')`
database=$(echo "show dbs" | $tooldir/mongo -uadmin --host $host --port $port -p$password --authenticationDatabase $authenticationdatabase  --quiet |awk '{print $1}'| sed -E '/^admin$|^config$|^local$/d')
for db in $database
do
  collections=$(echo -e "use $dbn show collections" | $tooldir/mongo -u $user --host $host --port $port -p $password  $authenticationdatabase --quiet | sed '/switched to db/d')
  for table in $collections
  do
    count=$(echo -e "use $dbn db.$table.count()" | $tooldir/mongo -u $user --host $host --port $port -p $password  --authenticationDatabase $authenticationdatabase  --quiet | sed '/switched to db/d')
    echo "$db.$table have $count documents"
  done
done
源端运行结果:
目标端运行结果:
注意事项
- 使用 secondary 备份时,在割接停止业务后,增量备份前,首先检查下从库与主库的延时,确保主从没有延时,防止备份出的数据和主库不一致。
- 如果全备时指定了 gzip,在提取时间戳时要重命名
oplog.bson为oplog.bson.gz,然后解压,再利用bsondump工具解析 bson 文件,否则会报错。
以上就是MongoDB 副本集迁移实操案例的详细内容,更多关于MongoDB 副本集迁移实操案例的资料请关注IT俱乐部其它相关文章!

