Ajax的封装
一个免费的测试接口
https://api.apiopen.top/getJoke
一、最简单的原生Ajax封装
- 先看下效果
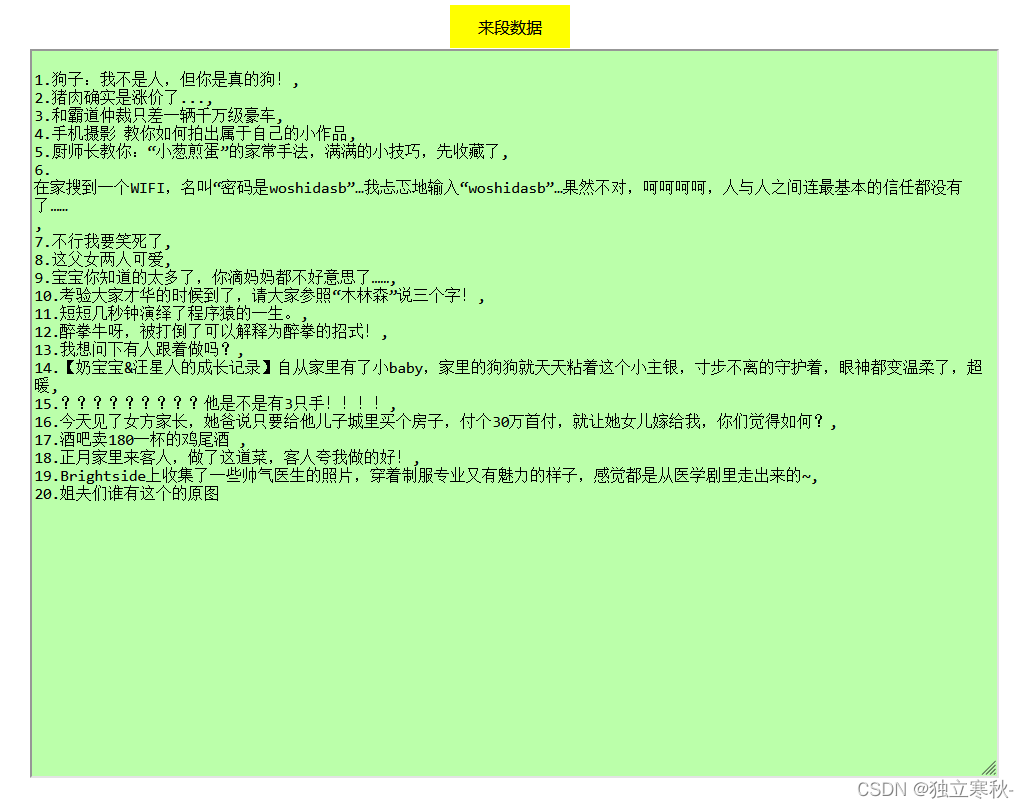
- 具体代码
const btn = document.getElementById("btn");
const txt = document.getElementById("text");
btn.onclick = function(){
getAjax('get','https://api.apiopen.top/getJoke',function(res){
let narr=[];
for(let i=0;i=200 && xhr.status<300){
const res = JSON.parse(xhr.response);
callback(res.result);
}
}
}
}
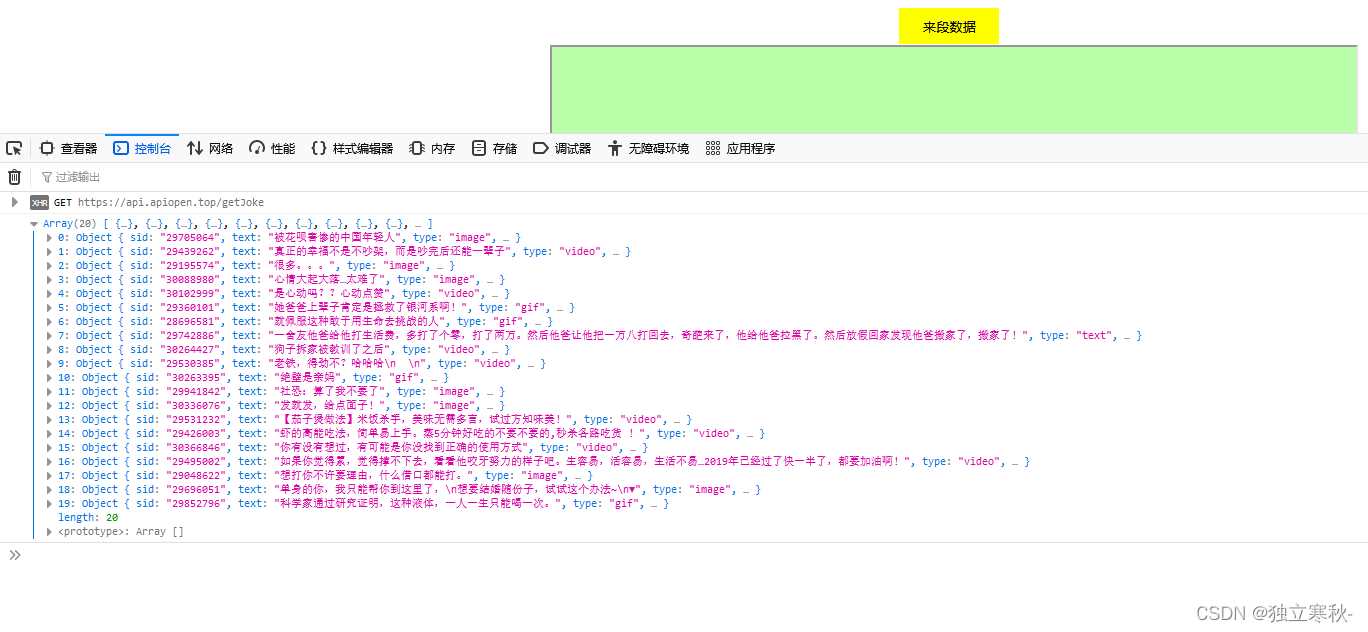
二、使用promise函数封装
Promise是ES6引入的异步编程的新解决方案,语法上Promise是一个构造函数,用来封装异步操作并可以获取其成功或者失败的回调结果。
- 通过promise实例化的对象可以接受一个参数,参数类型为函数,该函数的两个参数是resolve和reject,
- 在请求到数据后可以通过resolve、resolve函数来改变Promise对象的状态
- resolve表示成功,resolve表示失败
- 成功或者失败都可以调用Promise对象的then方法
- then接收两个参数,两个参数都是函数类型
- 成功的形参为value,失败的形参为reason
- value就是resolve方法里的返回结果
    const btn = document.getElementById("btn");
    btn.onclick = function(){
        grtAjax('get','https://api.apiopen.top/getJoke',function(res){
            console.log(res);
        });
    }
    function grtAjax(method,url,callback){
        const p = new Promise((resolve,reject)=>{
            const xhr = new XMLHttpRequest();
            xhr.open(method,url);
            xhr.send();
            xhr.onreadystatechange = function(){
                if(xhr.readyState == 4){
                    if(xhr.status >= 200 && xhr.status < 300){
                        resolve(xhr.response);
                    }else{
                        reject(xhr.status);
                    }
                }
            }
        });
        p.then(function(value){
            const res = JSON.parse(value);
            callback(res.result)
        },function(reason){
        console.error(reason);
        })
    }
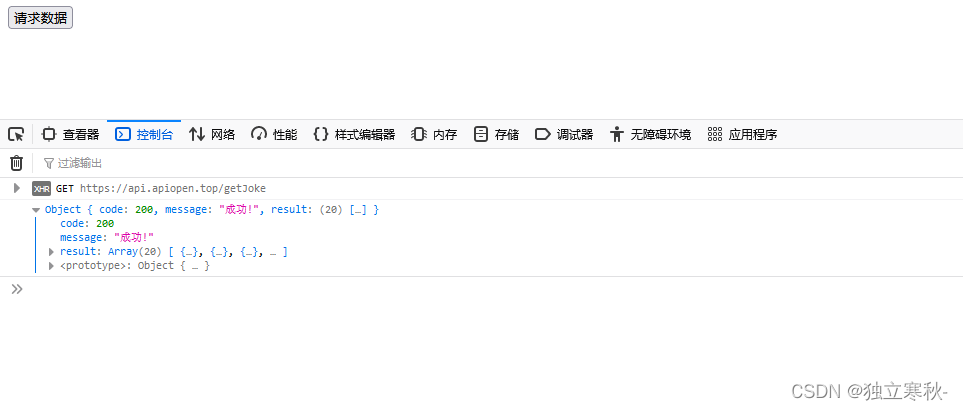
三、promise配合async和await使用
async
- async和await两种语法结合可以让异步代码像同步代码一样
- async函数的返回值为promise对象
- 该promise对象的结果是由async函数执行的返回值决定的
- 只要返回值的类型不是一个promise类型的对象则async函数的返回结果就是一个成功的promise对象
- 返回值的类型不是一个promise类型的对象则跟promise对象的状态有关revolve或者reject或者抛出异常
await
- await右侧的表达式一般为promise对象,但也可以是其他的值
- 如果是promise对象,await返回的是promise成功的值
- 如果是其他的值,直接将此值作为await的返回值
- await必须写在async函数中,但是async函数中可以没有await
- 如果await的promise状态是失败的,就会抛出异常,需要通过try…catch捕获处理
const btn = document.querySelector('button');
function sendAjax(method,url){
return new Promise((resolve,reject)=>{
const xhr = new XMLHttpRequest();
xhr.responseType = 'json';
xhr.open(method,url);
xhr.send();
xhr.onreadystatechange = function(){
if(xhr.readyState === 4){
if(xhr.status >=200 && xhr.status<300){
resolve(xhr.response);
}else{
reject(xhr.status);
}
}
}
})
}
btn.addEventListener('click',async function(){
let result = await sendAjax('get','https://api.apiopen.top/getJoke');
console.log(result);
})
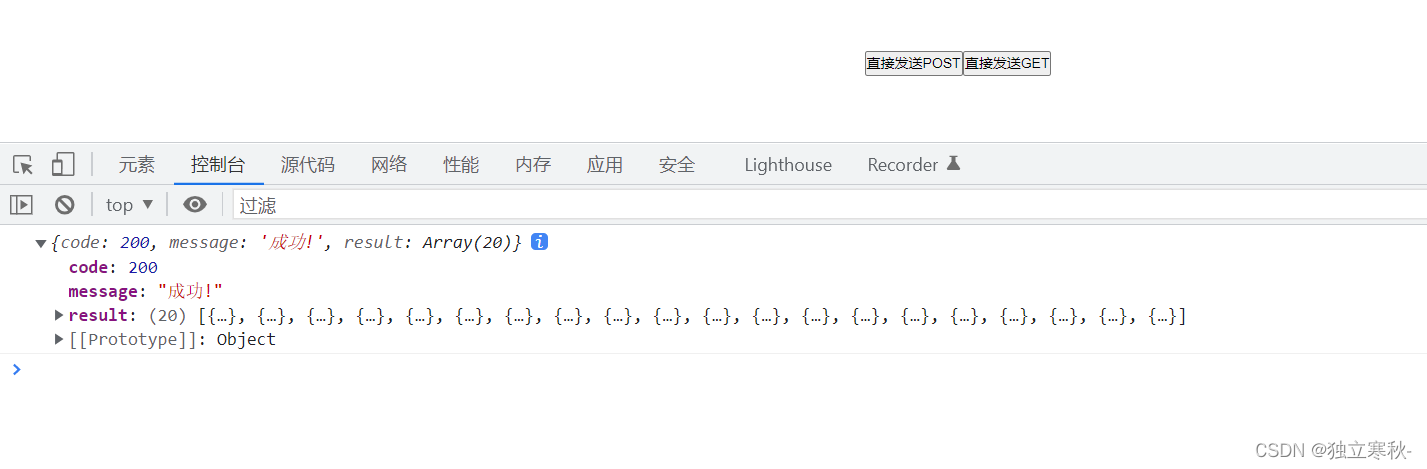
四、使用axios工具库直接发送Ajax
Axios 是一个基于 promise 网络请求库,作用于node.js 和浏览器中。 它是 isomorphic 的(即同一套代码可以运行在浏览器和node.js中)。在服务端它使用原生 node.js http 模块, 而在客户端 (浏览端) 则使用 XMLHttpRequests。
- 这里使用了vue-cli搭建了一个vue项目并下载了 axios
post
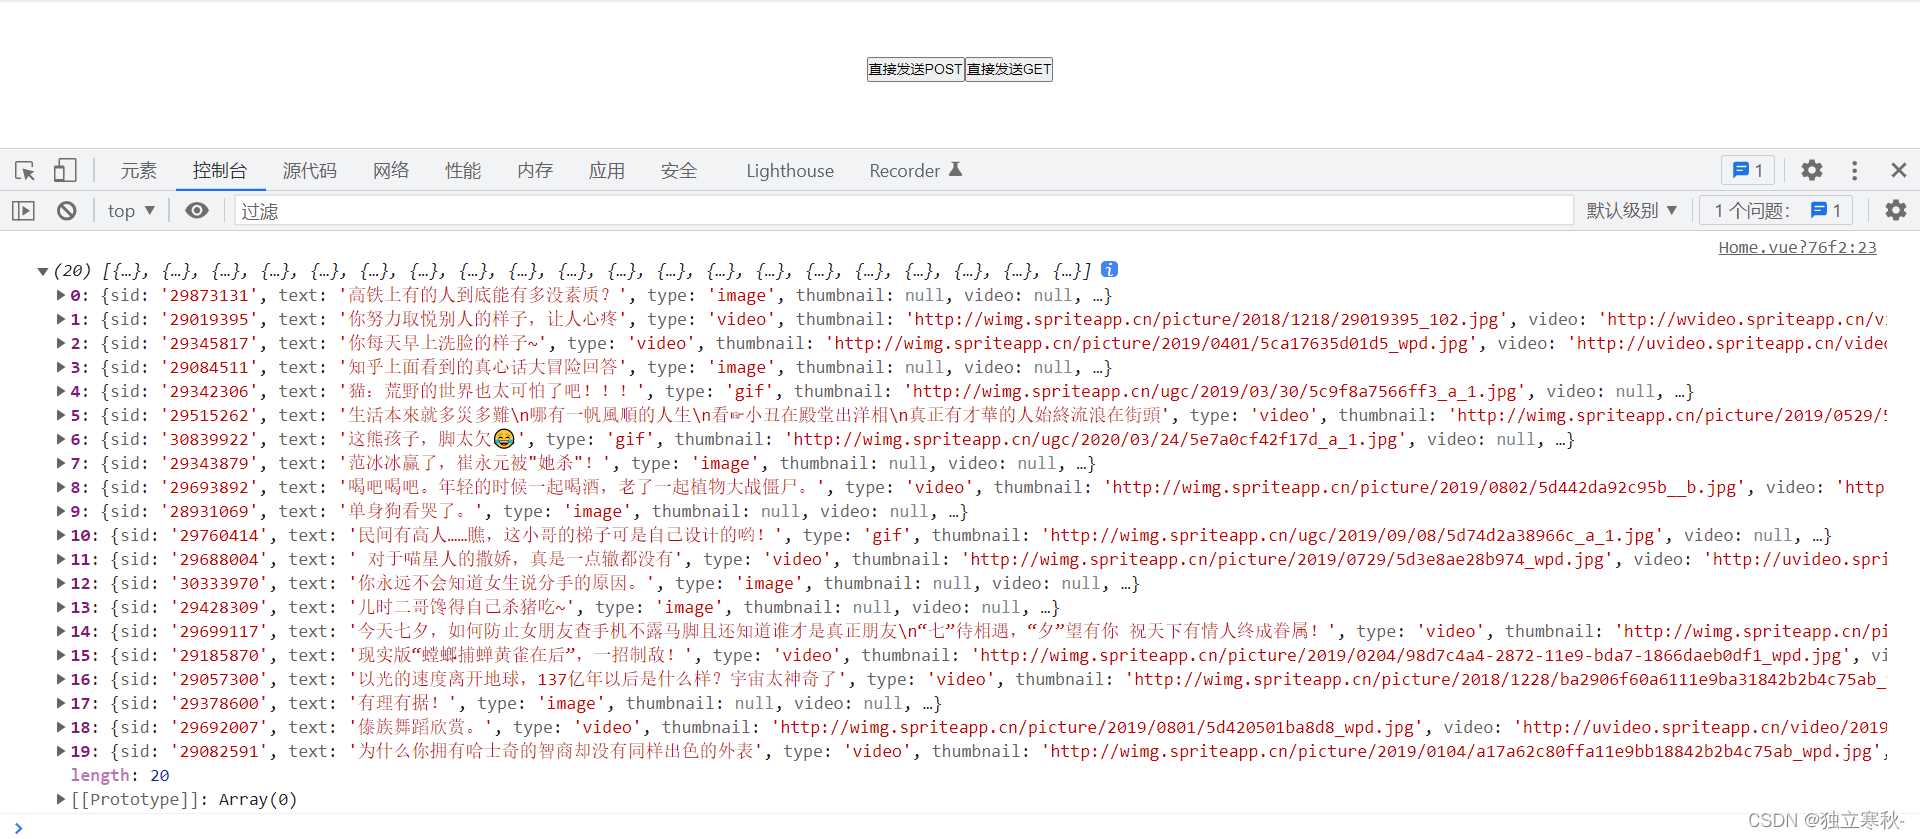
get
export default { data(){ return{} }, methods:{ async get(){ const {data:res} = await this.$axios.get('https://api.apiopen.top/getJoke',{ params:{id:1} }); console.log(res); }, post(){ this.$axios.post('https://api.apiopen.top/getJoke',{name:'yxj',gender:'男'}) .then((res)=>{ console.log(res.data.result); }); } } }
到此这篇关于关于Ajax的封装详解的文章就介绍到这了,更多相关Ajax的封装内容请搜索IT俱乐部以前的文章或继续浏览下面的相关文章希望大家以后多多支持IT俱乐部!

