1.pnpm介绍
npm和pnpm都是JavaScript的包管理工具,用于自动化安装、配置、更新和卸载npm包依赖。
-
pnpm节省了大量的磁盘空间并提高了安装速度:使用一个内容寻址的文件存储方式,如果多个项目使用相同的包版本,pnpm会存储单个副本,并在每个项目中创建硬链接。 -
pnpm安全性高:在安装包时采用了严格的依赖解析策略。默认情况下,它不会扁平化依赖,这意味着子依赖不会被提升到项目的顶层node_modules目录,这减少了意外覆盖依赖的风险。 -
pnpm兼容性不如npm
安装:npm i pnpm -g
2.基础创建
2.1 创建项目
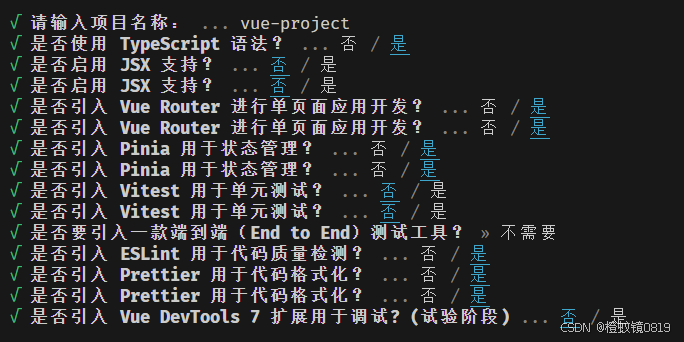
创建vue3项目:pnpm create vue@latest
2.2 目录调整及介绍
./src
    ├── assets        `静态资源,图片...`
    ├── components    `通用组件`
    ├── router        `路由`
    │   └── index.ts
    ├── api      `接口服务API`
    ├── stores        `状态仓库`
    ├── styles        `样式`
    │   └── main.scss
    ├── types         `TS类型`
    ├── utils         `工具函数`
    ├── views         `页面`
    ├── main.ts       `入口文件`
    └──App.vue       `根组件`
2.3 env.d.ts
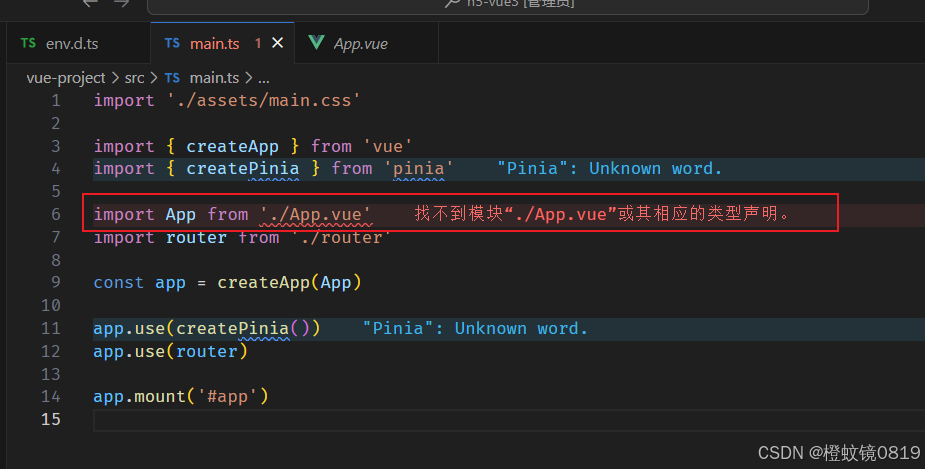
可以看到main.ts 文件中引入文件报找不到错误,调整env.d.ts配置
// 声明文件
// 用于引入 Vite 提供的类型声明,使 TypeScript 了解 ImportMeta 和 ImportMetaEnv 的类型
///
declare module '*.vue' {
  import type { DefineComponent } from 'vue'
  const component: DefineComponent
  export default component
}
2.4 tsconfig.json
vite默认只会校验不会解析ts文件,所以需要安装typescript和vue-tsc用于辅助解析,项目初始化时已经安装好了,配置tsconfig.json文件
{
  "compilerOptions": {
    "target": "ESNext", // 目标转化的语法
    "useDefineForClassFields": true,
    "module": "ESNext", // 转化的格式
    "moduleResolution": "Node", //解析规则
    "strict": true, //严格模式
    "sourceMap": true, // 启动sourceMap调试
    "jsx": "preserve", // 不允许ts编译jsx语法
    "resolveJsonModule": true,
    "isolatedModules": true,
    "esModuleInterop": true, //es6和commonjs转化
    "lib": [
      "ESNext",
      "DOM"
    ],
    "skipLibCheck": true,
    "noEmit": true,
    "baseUrl": ".",
    "paths": {
      "@/*": [
        "src/*"
      ],
      "components": [
        "src/components/*"
      ],
      "_pinia/*": [
        "src/pinia/*"
      ]
    },
  },
  "include": [
    "src/**/*.ts",
    "src/**/*.d.ts",
    "src/**/*.tsx",
    "src/**/*.vue",
    "types"
  ],
}
2.5 eslint配置
2.5.1 安装额外依赖
pnpm install @typescript-eslint/eslint-plugin@latest @typescript-eslint/parser@latest -D
2.5.2 配置.eslintrc.cjs文件
module.exports = {
  env: { //环境 针对环境的语法
    browser: true,
    es2021: true,
    node: true
  },
  // 集成了哪些规则 别人写好的
  extends: ['eslint:recommended', 'plugin:vue/vue3-essential', 'plugin:@typescript-eslint/recommended'],
  overrides: [],
  // 'parser': '@typescript-eslint/parser',
  // 可以解析.vue 文件
  parser: 'vue-eslint-parser',
  parserOptions: {
    ecmaVersion: 'latest',
    sourceType: 'module',
    parser: '@typescript-eslint/parser' // 解析ts文件
  },
  plugins: ['vue', '@typescript-eslint', 'prettier'],
  // 自定义的规则
  rules: {
    'vue/multi-word-component-names': 'off',
    'no-console': process.env.NODE_ENV === 'production' ? 'warn' : 'off',
    'no-debugger': process.env.NODE_ENV === 'production' ? 'warn' : 'off',
    'arrow-spacing': [
      2,
      {
        //强制箭头函数前后都使用空格
        before: true,
        after: true
      }
    ],
    'prettier/prettier': 'off',
    "@typescript-eslint/no-explicit-any": ["off"], // 关闭不能定义any类型的校验
    'no-irregular-whitespace': 2, // 不能有不规则的空格
    'comma-dangle': [2, 'never'] // 对象字面量项尾不能有逗号
  }
}
2.5.3 配置.eslintignore文件
.DS_Store
node_modules
/dist


# local env files
.env.local
.env.*.local

# Log files
npm-debug.log*
yarn-debug.log*
yarn-error.log*
pnpm-debug.log*

# Editor directories and files
.idea
.vscode
*.suo
*.ntvs*
*.njsproj
*.sln
*.sw?
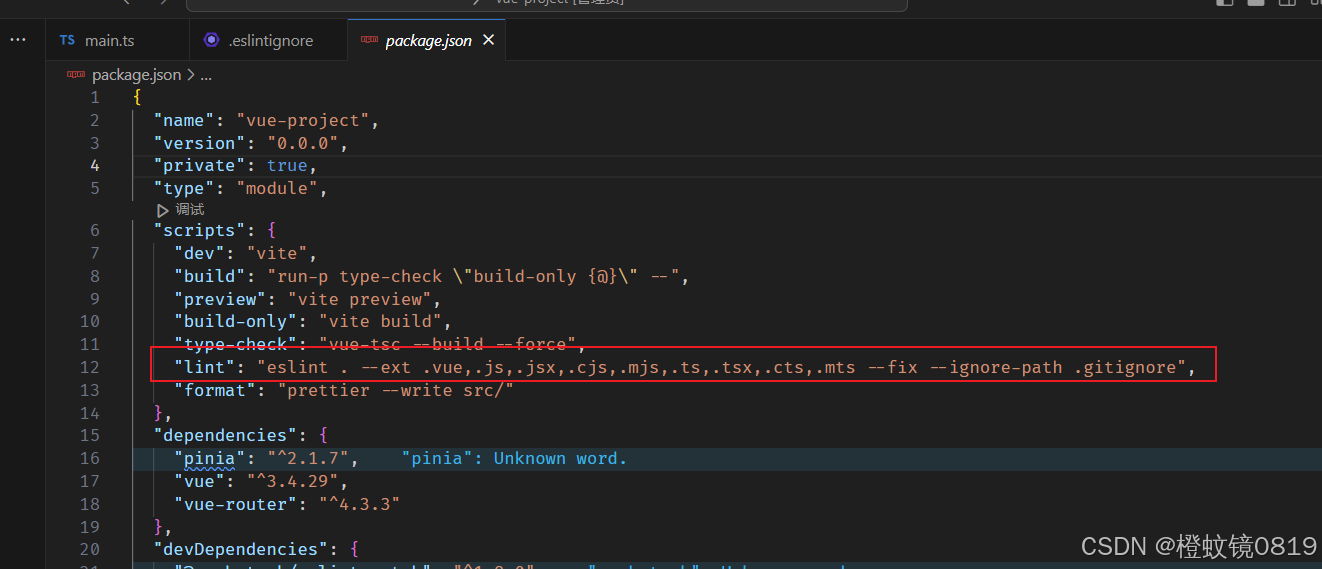
2.5.4 校验命令
可以通过执行npm run lint 去校验指定后缀规则的文件,整体修复文件中的代码问题
2.6 prettier配置
2.6.1 创建.eslintrc.cjs
module.exports = {
  printWidth: 200, //一行内容的宽度,默认80
  singleQuote: true, //使用双引号
  semi: false, // 末尾添加分号
  tabWidth: 2,
  trailingComma: 'none',
  useTabs: false,
  endOfLine: 'auto'
}
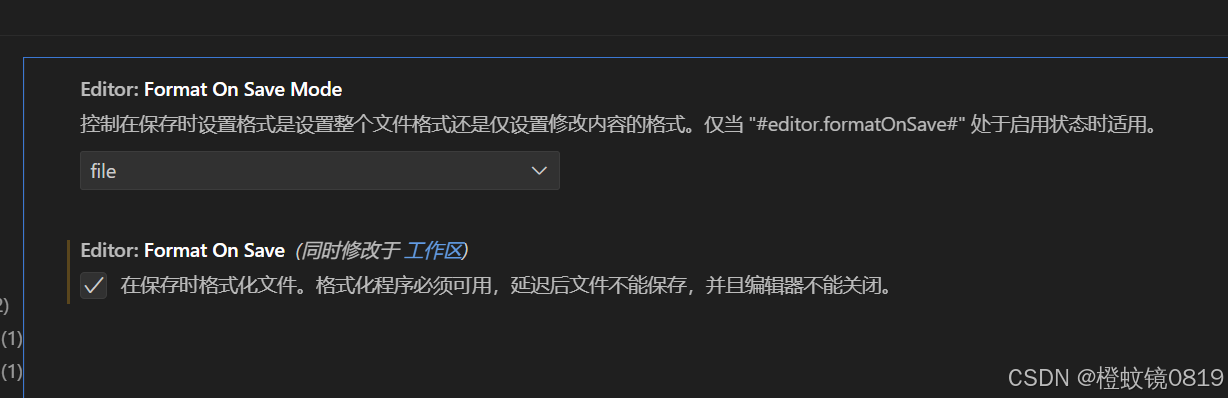
2.6.2 取消勾选

2.6.3 勾选保存
2.7 配置代码检查工作流-husky
提交代码前做代码检查 ,使用husky这个git hooks工具
- 安装:
pnpm install husky -D - 配置
package.json执行命令:"prepare": "husky install" - 修改文件 做提交前代码校验
npx husky add .husky/pre-commit "pmpm lint"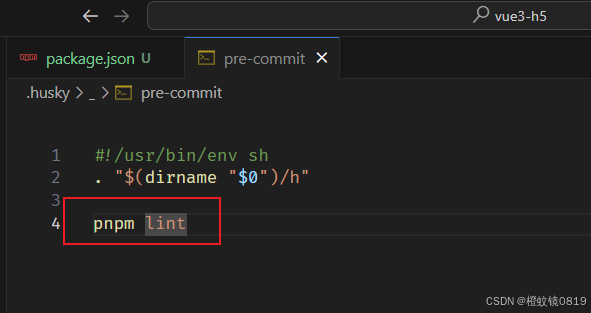
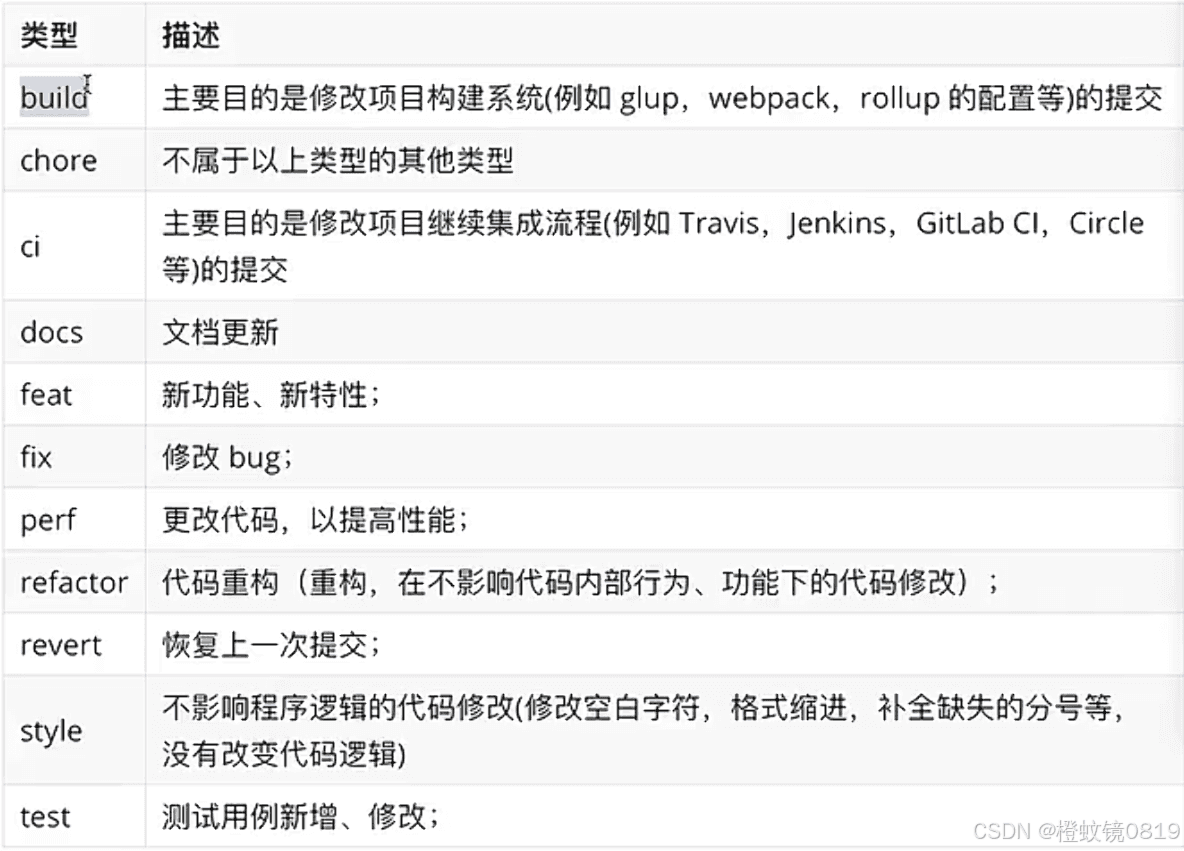
2.8 commitlint
用于提交commit信息规范
- 安装:
pnpm add @commitlint/config-conventional @commitlint/cli -D - 执行:
npx husky add .husky/commit-msg - 修改生成文件内容:
#!/usr/bin/env sh
. "$(dirname -- "$0")/_/husky.sh"

npx --no-install commitlint --edit $1
- 创建
.commitlintrc.cjs文件
module.exports={extends:['@commitlint/config-conventional'],rules:{}}
3.Vant
- 安装:
pnpm add vant - 插件
在基于vite、webpack或vue-cli的项目中使用Vant时,可以使用unplugin-vue-components插件,它可以自动引入组件。Vant官方基于unplugin-vue-components提供了自动导入样式的解析器@vant/auto-import-resolver,两者可以配合使用。pnpm add @vant/auto-import-resolver unplugin-vue-components -D - 使用
import 'vant/lib/index.css'
import vant from 'vant'
app.use(vant)
- 个别组件
Vant中有个别组件是以函数的形式提供的,包括Toast、Dialog、Notify 、ImagePreview组件。在使用函数组件时,unplugin-vue-components无法解析自动注册组件,导致@vant/auto-import-resolver无法解析样式,因此需要手动引入样式。
// Toast
import { showToast } from 'vant';
import 'vant/es/toast/style';

// Dialog
import { showDialog } from 'vant';
import 'vant/es/dialog/style';

// Notify
import { showNotify } from 'vant';
import 'vant/es/notify/style';

// ImagePreview
import { showImagePreview } from 'vant';
import 'vant/es/image-preview/style';
4.移动端适配
安装:pnpm add -D postcss-px-to-viewport配置: postcss.config.js
// eslint-disable-next-line no-undef
module.exports = {
  plugins: {
    'postcss-px-to-viewport': {
      // 设备宽度375计算vw的值
      viewportWidth: 375,
    },
  },
};
5.unplugin-auto-import 自动引入
实现依赖的自动导入,不用再频繁导入依赖包,unplugin-auto-import 是基于 unplugin 写的,支持 Vite、Webpack、Rollup、esbuild 多个打包工具。
比如代码中:import { computed, ref } from 'vue'
- 安装
pnpm install -D unplugin-auto-import - 配置
// vite.config.js
import AutoImport from 'unplugin-auto-import/vite'
export default defineConfig({
  plugins: [
    vue(),
    AutoImport({
      imports: ['vue', 'vue-router']
      // eslintrc: { enabled: true }
    })
  ],
  ...
  })
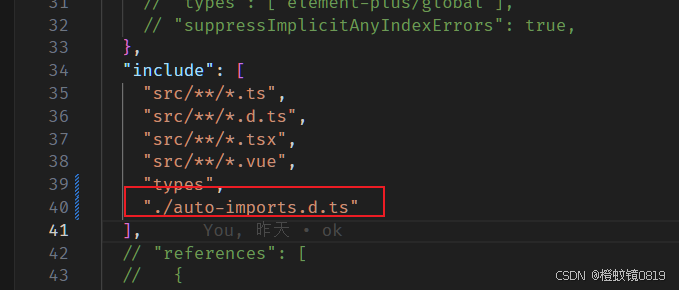
- 问题
此时文件中的依赖已经被引入,但是会有错误提示
通过配置会自动生成两个文件.eslintrc-auto-import.json和auto-imports.d.ts在.eslintrc.cjs和tsconfig.json分别引入,可以解决。
总结
到此这篇关于vue3+ts+pinia+vant项目搭建的文章就介绍到这了,更多相关vue3+ts+pinia+vant项目搭建内容请搜索IT俱乐部以前的文章或继续浏览下面的相关文章希望大家以后多多支持IT俱乐部!

