第一步:安装依赖
yarn add print-js
第二步:创建打印组件:PrintHtmlComp.vue
import printJs from 'print-js';
defineOptions({ name: 'PrintHtmlComp' });
const props = defineProps({
	fontSize: {
		type: Number,
		default: 14,
		required: false,
	},
});
const handlePrint = () => {
	printJs({
		printable: 'printArea_123456789', // 打印区域的id
		type: 'html',
		scanStyles: true,
		targetStyles: ['*'], // 使用dom的所有样式,很重要
		font_size: props.fontSize + 'px', // 字体大小 --很重要,这里字体要和css中字体大小保持一致,默认是16px
	});
};
defineExpose({ handlePrint });
第三步:处理打印预览的界面 PrintPop.vue
这个界面的的样式调整直接关系到打印的样式的,即想要打印什么样的效果就在这个界面怎么调试。
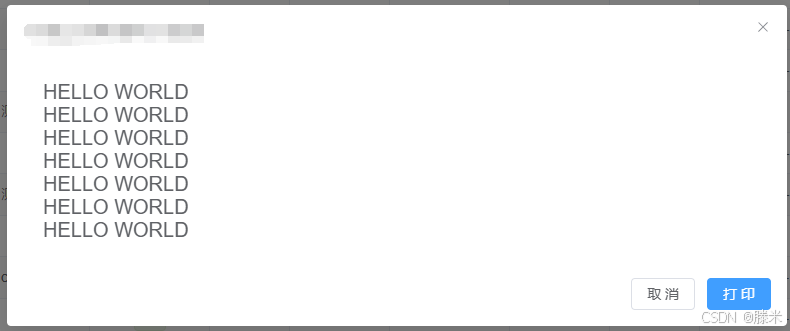
HELLO WORLDHELLO WORLDHELLO WORLDHELLO WORLDHELLO WORLDHELLO WORLDHELLO WORLD取 消打 印 import { reactive, ref } from 'vue'; defineOptions({ name: 'WorkApplyPlanPrint' }); const state = reactive({ dialogVisible: false, }); const showEdit = async () => { state.dialogVisible = true; }; const close = () => { state.dialogVisible = false; }; // 打印功能的函数 const handlePrint = async () => { printRef.value?.handlePrint(); }; defineExpose({ showEdit });
HTML展示效果
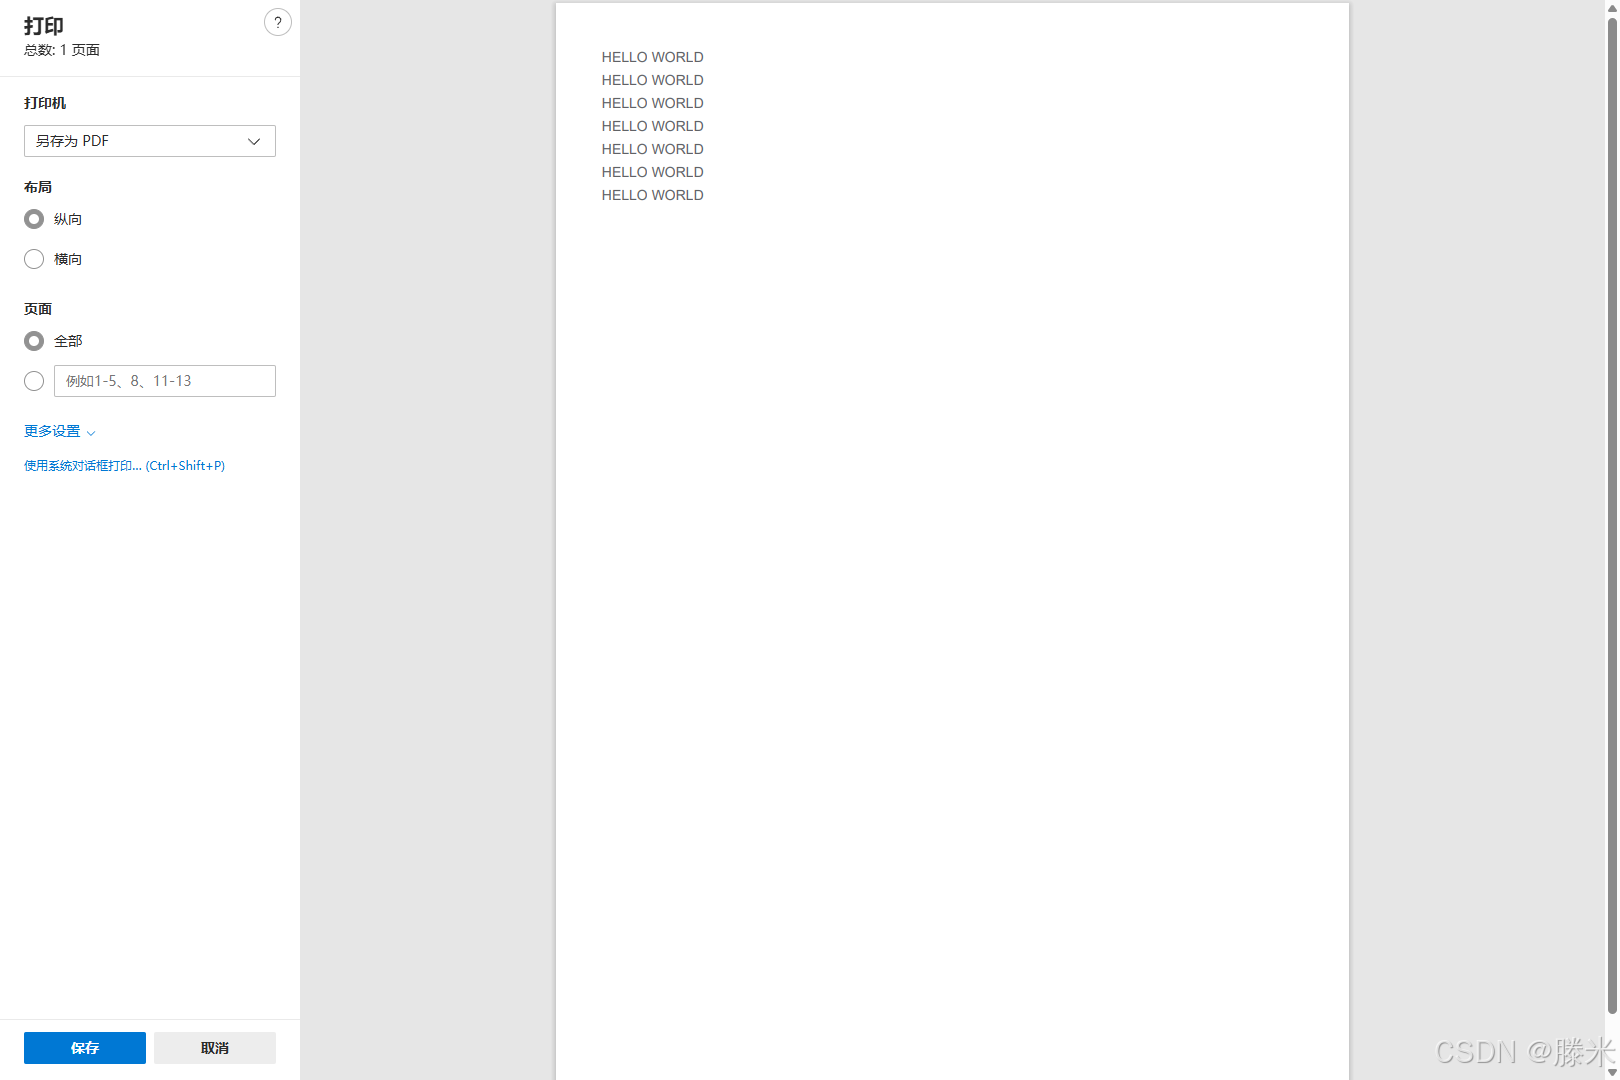
打印预览效果:
完成,功德+1。
关于遇到的问题以及解决方法,后续更新!!!!
到此这篇关于vue3中使用print-js组件实现打印操作的文章就介绍到这了,更多相关vue3中使用print-js组件内容请搜索IT俱乐部以前的文章或继续浏览下面的相关文章希望大家以后多多支持IT俱乐部!

