1、导航守卫
“导航” 表示路由正在发生改变
正如其名,vue-router 提供的导航守卫主要用来通过跳转或取消的方式守卫导航。有多种机会植入路由导航过程中:全局的, 单个路由独享的, 或者组件级的。
记住参数或查询的改变并不会触发进入/离开的导航守卫。你可以通过观察 $route 对象来应对这些变化,或使用 beforeRouteUpdate 的组件内守卫。
v-router官网:https://router.vuejs.org/zh/guide/
我这里用到的是全局前置守卫:
在路由中可以使用router.beforeEach,注册一个全局前置守卫
const router = new VueRouter({ routes });

router.beforeEach((to, from, next) => {
  const isover = to.matched.some(record => record.path == '/over')
  if (isover || to.path == '/overview') {
    if (!store.getters.token) {  // 未登录
      next('/login');
      return
    }
    if (!isHome) {
      next();
      return
    }
  } else {
    next()  // 无需登录验证
  }
})
当一个导航触发时,全局前置守卫按照创建顺序调用,守卫是异步解析执行,此时导航在所有守卫resolve完之前一直处于等待中。
每个守卫方法接收3个参数
to: Route:即将要进入的目标 路由对象
from: Route :当前导航正要离开的路由
next: Function : 一定要调用该方法来resolve这个钩子,执行效果依赖next方法的调用参数
1.next(): 进行管道中的下一个钩子。如果全部钩子执行完了,则导航的状态就是 confirmed (确认的)。
2.next(’/’) 或者 next({ path: ‘/’ }): 跳转到一个不同的地址。当前的导航被中断,然后进行一个新的导航。你可以向 next 传递任意位置对象,且允许设置诸如 replace: true、name: ‘home’ 之类的选项以及任何用在 router-link 的 to prop 或 router.push 中的选项。
3.next(error): (2.4.0+) 如果传入 next 的参数是一个 Error 实例,则导航会被终止且该错误会被传递给 router.onError() 注册过的回调。
4.** 确保 next 函数在任何给定的导航守卫中都被严格调用一次。它可以出现多于一次,但是只能在所有的逻辑路径都不重叠的情况下,否则钩子永远都不会被解析或报错 **这里有一个在用户未能验证身份时重定向到 /login 的示例:
// BAD
router.beforeEach((to, from, next) => {
  if (to.name !== 'Login' && !isAuthenticated) next({ name: 'Login' })
  // 如果用户未能验证身份,则 `next` 会被调用两次
  next()
})
// GOOD
router.beforeEach((to, from, next) => {
  if (to.name !== 'Login' && !isAuthenticated) next({ name: 'Login' })
  else next()
})
二、功能展示


三、原理
对于路由的导航动态实现,我们首先要确定我们拥有的路由有哪些,并且对于命名有一定的良好习惯。其中最重要的就是在我们的路由里面进行设定,设置我们的路由守卫,能对路由进行控制和及时的更新我们的路由数据,然后就可以直接在功能实现区域进行调用实现了。
四、功能实现
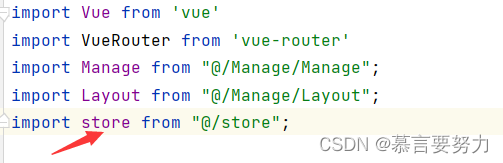
1.router文件夹

在router里面引入我们的store
路由守卫
// 路由守卫
router.beforeEach((to, from, next) => {
  localStorage.setItem("currentPathName", to.name)  // 设置当前的路由名称,为了在Header组件中去使用
  store.commit("setPath")  // 触发store的数据更新
  next()  // 放行路由
})
2.store文件夹
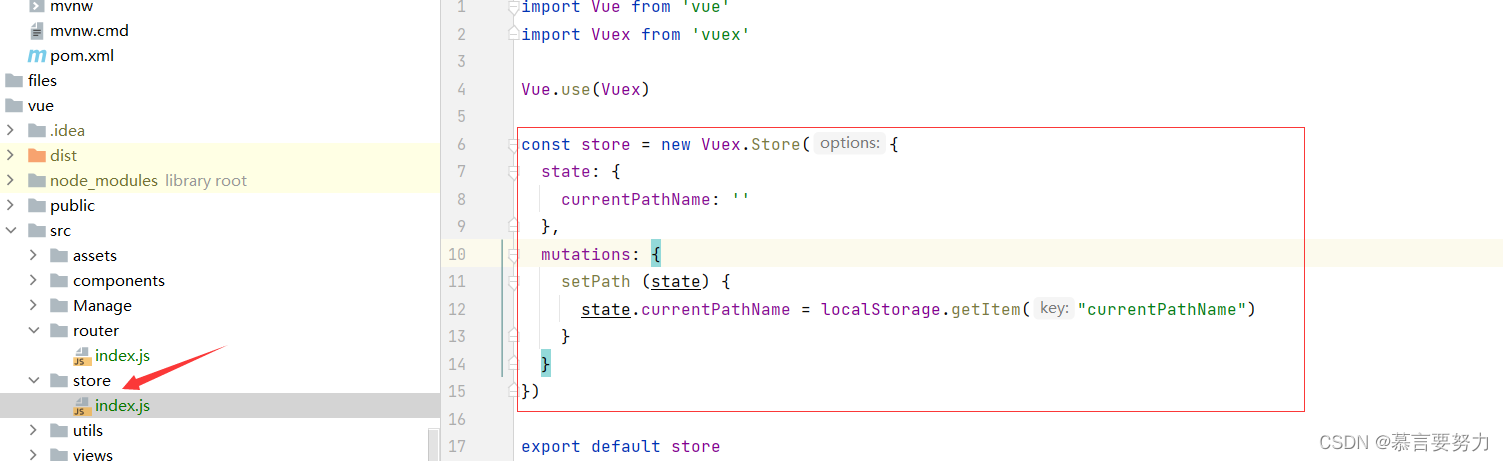
import Vue from 'vue'
import Vuex from 'vuex'

Vue.use(Vuex)

const store = new Vuex.Store({
  state: {
    currentPathName: ''
  },
  mutations: {
    setPath (state) {
      state.currentPathName = localStorage.getItem("currentPathName")
    }
  }
})

export default store
3.main.js
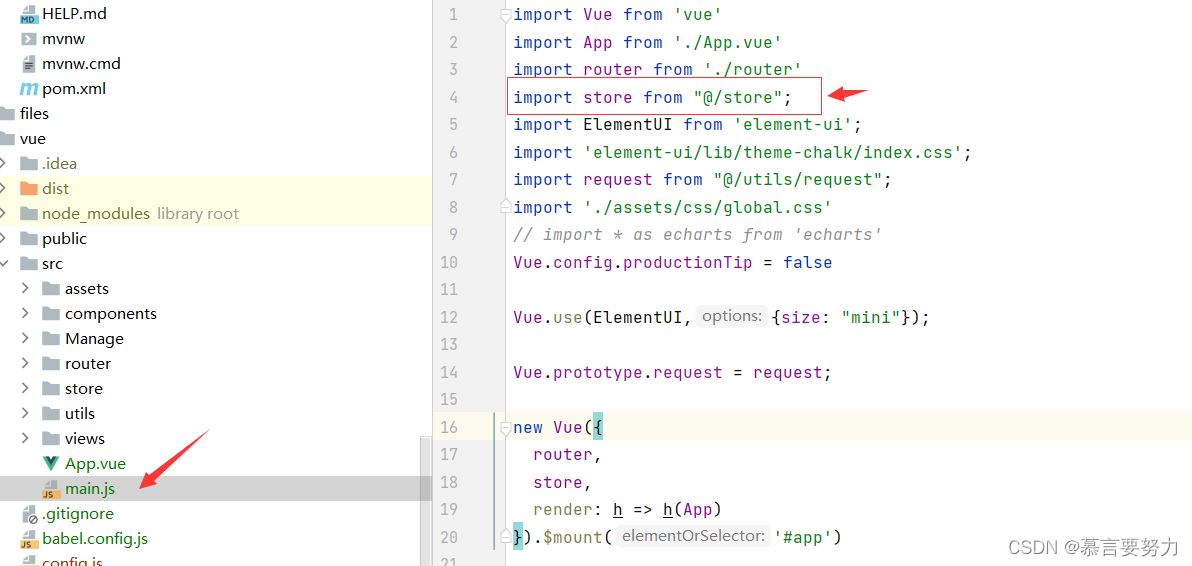
import Vue from 'vue'
import App from './App.vue'
import router from './router'
import store from "@/store";
import ElementUI from 'element-ui';
import 'element-ui/lib/theme-chalk/index.css';
import request from "@/utils/request";
import './assets/css/global.css'
// import * as echarts from 'echarts'
Vue.config.productionTip = false

Vue.use(ElementUI,{size: "mini"});

Vue.prototype.request = request;

new Vue({
  router,
  store,
  render: h => h(App)
}).$mount('#app')
4.实现
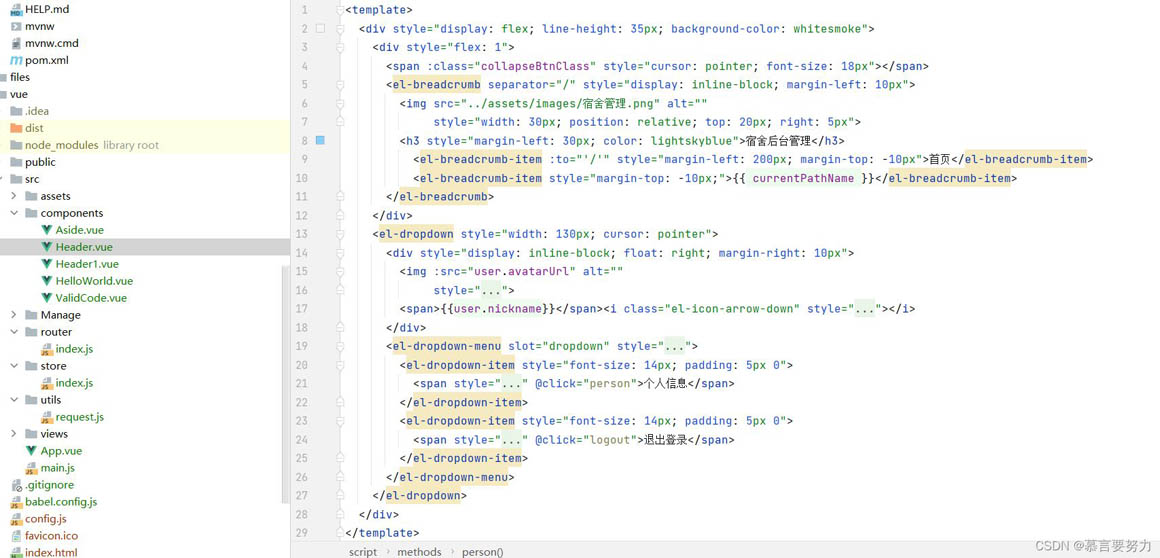
export default { name: "Header", props: { collapseBtnClass: String, user: Object }, computed: { currentPathName () { return this.$store.state.currentPathName; //需要监听的数据 } }, data() { return { user: localStorage.getItem("user") ? JSON.parse(localStorage.getItem("user")) : {} } }, methods: { logout() { this.$router.push("/login") this.$message.success("退出成功") }, person(){ this.$router.push("/mall/person") } } }宿舍后台管理
首页{{ currentPathName }}个人信息 退出登录{{user.nickname}}

⛵小结
到此这篇关于Vue实现动态路由导航的示例的文章就介绍到这了,更多相关Vue 动态路由导航内容请搜索IT俱乐部以前的文章或继续浏览下面的相关文章希望大家以后多多支持IT俱乐部!

