源码安装apache脚本部署
[root@localhost ~]# ls
anaconda-ks.cfg  httpd.tar.xz
[root@localhost ~]# tar xf httpd.tar.xz  解压存放脚本的压缩包
[root@localhost ~]# ls
anaconda-ks.cfg  httpd  httpd.tar.xz
[root@localhost ~]# cd httpd/
[root@localhost httpd]# ls
apache_lnh.sh(编译安装apache脚本)  config.sh(附属脚本)  files
[root@localhost httpd]# ls files/    //存放安装包的目录
apr-1.7.0.tar.gz  apr-util-1.6.1.tar.gz  httpd-2.4.53.tar.gz  httpd-2.4.54.tar.gz  zhuawawa(源码包的目录)
[root@localhost httpd]# cat apache_lnh.sh
#/bin/bash

#列出httpd版本号进行选择
cat > /tmp/xbz.txt  /dev/null
if [ $? -ne 0 ];then
            useradd -r -M -s /sbin/nologin apache
    else
            echo "用户已存在"
fi
#安装依赖包
dnf -y install openssl-devel pcre-devel expat-devel libtool gcc gcc-c++ wget make vim  zip --allowerasing
#解压源码包
rm -rf /tmp/*
tar xf files/apr-1.7.0.tar.gz -C /tmp/
tar xf files/apr-util-1.6.1.tar.gz -C /tmp/
tar xf files/httpd-$apache_version.tar.gz -C /tmp/
#编译安装apr
cd /tmp/apr-1.7.0
if [ ! -d /usr/local/apr ];then
sed -i '/$RM "$cfgfile"/d' configure
./configure --prefix=/usr/local/apr &&
make && make install
else
        ls /usr/local
        echo "apr 编译安装完成"
fi
#编译安装apr-util
cd ../apr-util-1.6.1/
if [ ! -d /usr/local/apr-util ];then
./configure --prefix=/usr/local/apr-util --with-apr=/usr/local/apr &&
make && make install
else
         ls /usr/local/
         echo "apr-util 编译安装完成"
fi
#编译安装httpd
cd ../httpd-$apache_version/
if [ ! -d ${install_dir} ];then
            ./configure --prefix=${install_dir}
                    --enable-so
                    --enable-ssl
                    --enable-cgi
                    --enable-rewrite
                    --with-zlib
                    --with-pcre
                    --with-apr=/usr/local/apr
                    --with-apr-util=/usr/local/apr-util/
                    --enable-modules=most
                    --enable-mpms-shared=all
                    --with-mpm=prefork
             make && make install
else
          ls ${install_dir}
          echo "httpd 编译安装完成"
fi
#设置环境变量,man文档,头文件
echo "export PATH=${install_dir}/bin:$PATH" > /etc/profile.d/apache.sh
ln -s ${install_dir}/include /usr/include/apache &> /dev/null
grep 'apache' /etc/man_db.conf &> /dev/null
if [ $? -ne 0 ];then
            sed -i "22a MANDATORY_MANPATH                       ${install_dir}/man" /etc/man_db.conf
fi
#将其加入systemd服务里面
cat > /usr/lib/systemd/system/httpd.service  /dev/null
if [ $? -eq 0 ];then
        echo "Include conf/extra/httpd-vhosts.conf" >> $install_dir/conf/httpd.conf
fi
#配置虚拟主机
cat > $install_dir/conf/extra/httpd-vhosts.conf
    DocumentRoot "$install_dir/htdocs/zhuawawa.example.com"
    ServerName zhuawawa.example.com
    ErrorLog "logs/zhuawawa.example.com-error_log"
    CustomLog "logs/zhuawawa.example.com-access_log" common

EOF
#添加防火墙规则
firewall-cmd --add-rich-rule 'rule family=ipv4 source address=0.0.0.0/0 port port=80 protocol=tcp accept' --permanent &> /dev/null
firewall-cmd --reload
#创建网站存放目录
mkdir -p $install_dir/htdocs/zhuawawa.example.com
cp -r files/zhuawawa/* $install_dir/htdocs/zhuawawa.example.com

#重启httpd
systemctl restart httpd
#查看端口
ss -antl
[root@localhost httpd]# ls
apache_lnh.sh  config.sh  files
[root@localhost httpd]# ls files/
apr-1.7.0.tar.gz  apr-util-1.6.1.tar.gz  httpd-2.4.53.tar.gz  httpd-2.4.54.tar.gz  zhuawawa(提前将源码包解压到这里)
[root@localhost httpd]# ls files/zhuawawa/  (此处是我解压的源码包)
Battle_City  audio  css  images  index.html  js  tk.zip
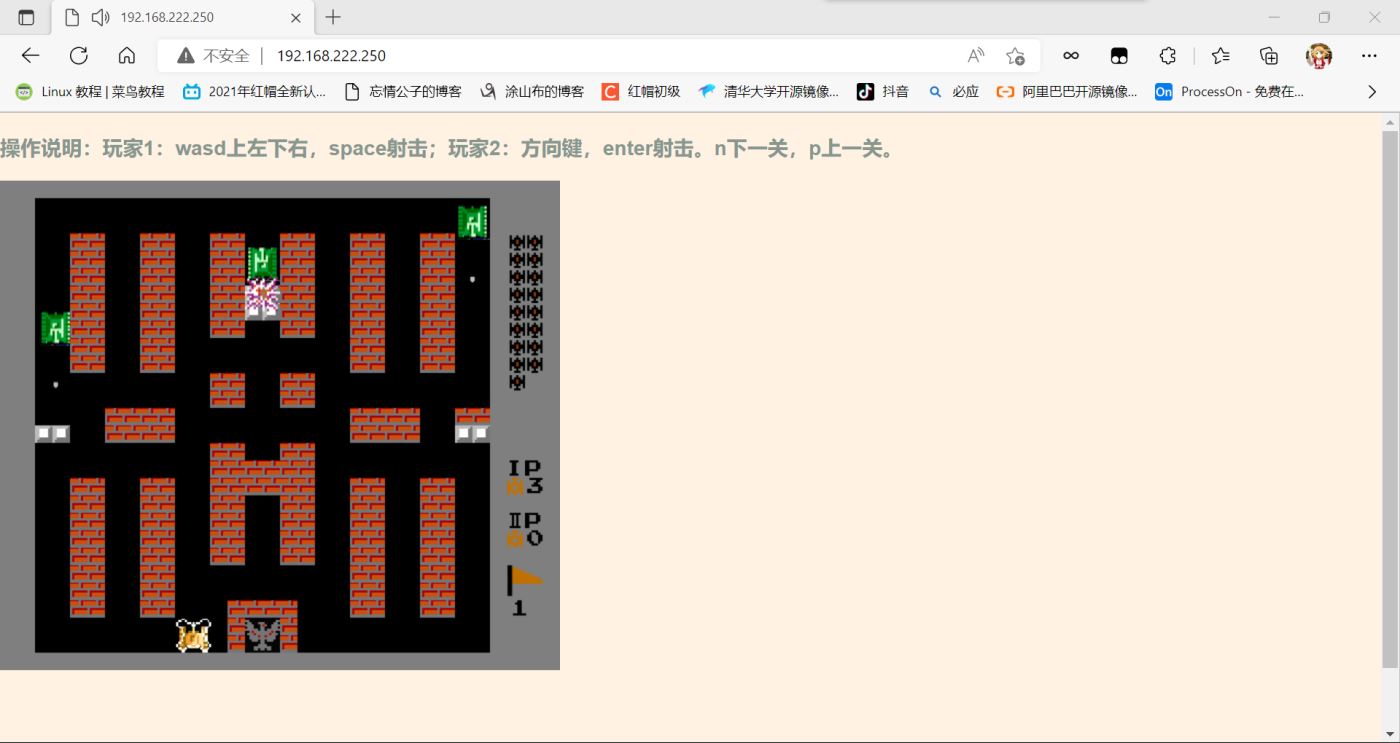
进行访问:
[root@localhost ~]# tar -Jcf httpd.tar.xz httpd/  //压缩脚本存放目录
[root@localhost ~]# ls
anaconda-ks.cfg  httpd  httpd.tar.xz
到此这篇关于源码安装apache脚本部署的文章就介绍到这了,更多相关源码安装apache内容请搜索IT俱乐部以前的文章或继续浏览下面的相关文章希望大家以后多多支持IT俱乐部!

