nginx实现静态文件的token认证
说下思路
- 1.用户请求携带token请求nginx
- 2.nginx反问后台服务token是否有效
- 3.token有效就返回静态资源 无效就返回权限不够
普通的nginx无法编写lua脚本
我们采用openresty版本可以编写lua脚本
lua包需要下载lua-resty-http工具包,地址lua-resty-http,解压后将.lua文件放到 lualibresty目录下就行。
编写nginx的config的配置 server替换
 server {
        listen       80;
        server_name  localhost;

        #charset koi8-r;

        #access_log  logs/host.access.log  main;

        location / {
            root   html;
            index  index.html index.htm;
        }

        #error_page  404              /404.html;

        # redirect server error pages to the static page /50x.html
        #
        error_page   500 502 503 504  /50x.html;
        location = /50x.html {
            root   html;
        }

	location / {
		rewrite_by_lua_block {
			-- local cjson = require "cjson"
			-- local http = require "resty.http"
			local httpc = http.new()
			local ngx = ngx
			local headers = ngx.req.get_headers()
			-- get请求参数中T就是token
			local token = headers["token"]
			local request_method = ngx.var.request_method
			local args = nil
			if "GET" == request_method then
				args = ngx.req.get_uri_args()
			elseif "POST" == request_method then
				ngx.req.read_body()
				args = ngx.req.get_post_args()
			end

			token = args["token"];
			if not token then
				ngx.header['Content-Type'] = 'text/plain; charset=utf-8';
				ngx.status = ngx.HTTP_FORBIDDEN
				ngx.say("You do not have permission to view the picture.")
				ngx.exit(200)
			end
			-- 字符串拼接
			-- 你要实现token鉴权的服务,header和参数都给你实现了,根据实际需要选择
			local url = "http://127.0.0.1:8080/image/checkToken?token="..token;

			local res, err = httpc:request_uri(url, {method="GET", headers={["token"]=token}})

			if not res then
				ngx.header['Content-Type'] = 'text/plain; charset=utf-8';
				ngx.say(cjson.encode({message = "Error getting response",status = ngx.HTTP_INTERNAL_SERVER_ERROR }));
				ngx.exit(200)
			end
			if res.body == '0' then
				ngx.header['Content-Type'] = 'text/plain; charset=utf-8';
				ngx.say("You do not have permission to view the picture.");
				ngx.exit(200)
			end

			}
			root D:\project;

		}


        # proxy the PHP scripts to Apache listening on 127.0.0.1:80
        #
        #location ~ .php$ {
        #    proxy_pass   http://127.0.0.1;
        #}

        # pass the PHP scripts to FastCGI server listening on 127.0.0.1:9000
        #
        #location ~ .php$ {
        #    root           html;
        #    fastcgi_pass   127.0.0.1:9000;
        #    fastcgi_index  index.php;
        #    fastcgi_param  SCRIPT_FILENAME  /scripts$fastcgi_script_name;
        #    include        fastcgi_params;
        #}

        # deny access to .htaccess files, if Apache's document root
        # concurs with nginx's one
        #
        #location ~ /.ht {
        #    deny  all;
        #}
    }
nginx对特定静态资源访问添加认证
由于nginx上存放了一些私密静态文件,未防止被其他人获取下载地址后私自下载,nginx可针对特定文件目录进行安全认证,输入用户名和密码通过后才能访问,以下为设置过程:
1.安装httpd
httpd里面有一个htpassword工具,用来创建认证文件
yum -y install httpd
2.配置nginx
vim /etc/nginx/nginx.conf
添加如下配置:
location /qwert {
    root /usr/share/nginx/html; #虚拟主机网站根目录
    index index.html index.htm; #虚拟主机首页
    auth_basic "secret"; #虚拟主机认证命名
    auth_basic_user_file /usr/local/nginx/passwd.db; #虚拟主机用户名密码认证数据库
}
3.使用htpasswd命令生成用户名及对应密码数据库文件
htpasswd -c /usr/local/nginx/passwd.db admin // admin为认证用户名
4.重新加载nginx配置文件
nginx -s reload
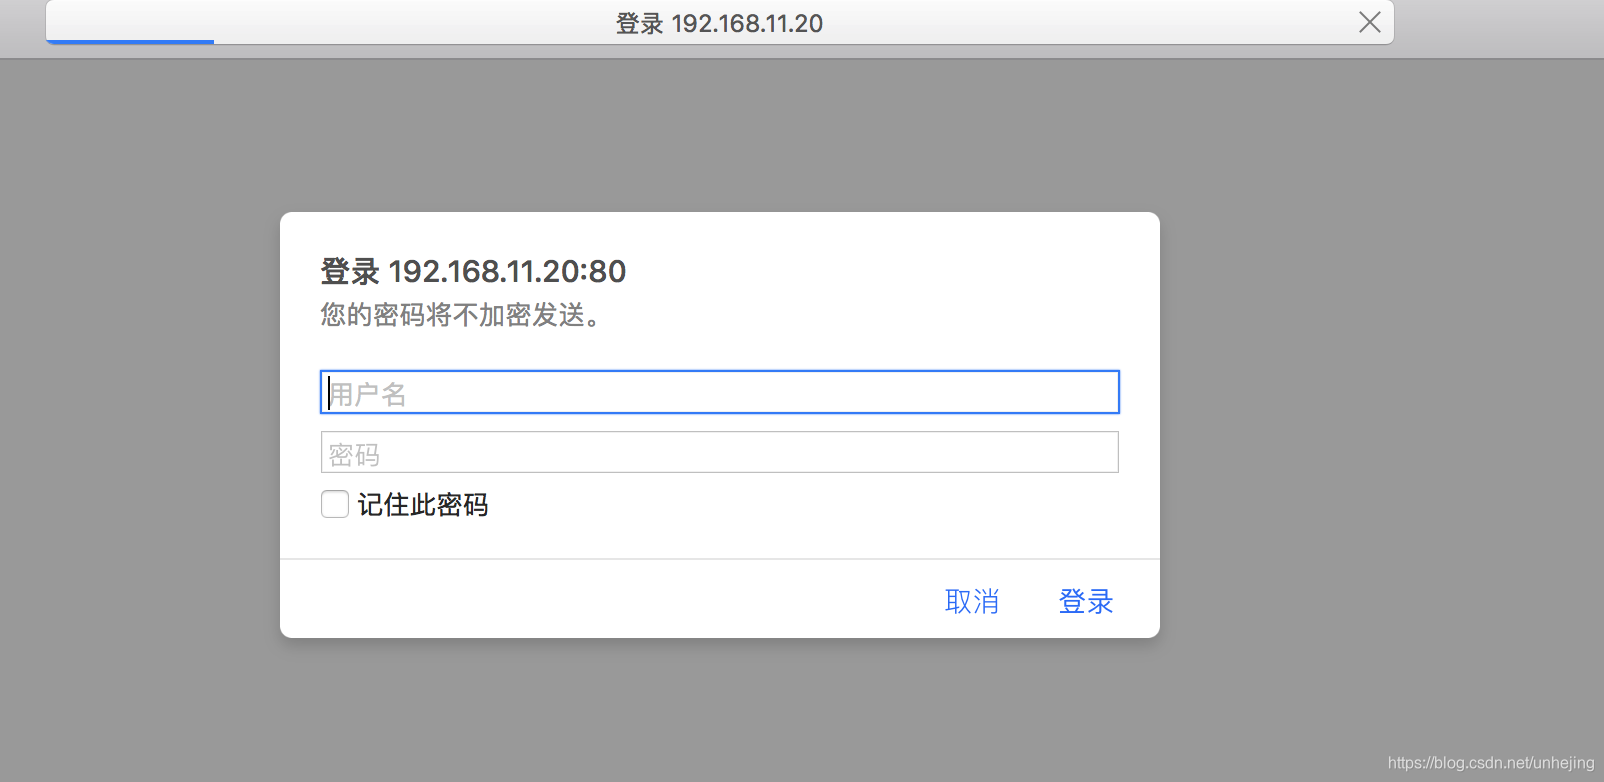
5.浏览器访问
http://192.168.11.20/qwert/
如图:
总结
以上为个人经验,希望能给大家一个参考,也希望大家多多支持IT俱乐部。

