nginx降权启动
确认普通用户无法开启nginx
创建普通用户:
root@ubuntu:~# useradd -d /home/test -m test
root@ubuntu:~# passwd test
New password:
Retype new password:
passwd: password updated successfully
root@ubuntu:~#
切换到test用户:

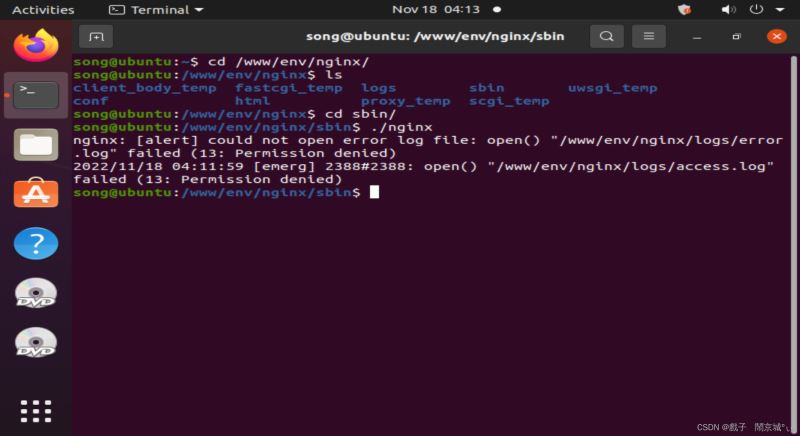
测试是否可以启动nginx:

启动失败
创建必需的相关文件
$ mkdir nginx
$ cd nginx
$ mkdir conf logs www sbin
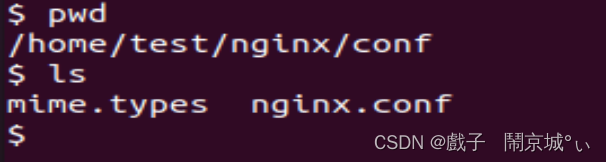
使用root用户copy配置文件中网页支持类型文件
root@ubuntu:/www/env/nginx/conf# cp /www/env/nginx/conf/mime.types /home/test/nginx/conf/
使用root用户拷贝nginx配置文件
root@ubuntu:~# cp /www/env/nginx/conf/nginx.conf /home/test/nginx/conf/
设置权限
root@ubuntu:~# chown -R test:test /www/env/nginx/
# 将当前前目录下的所有文件与子目录的拥有者皆设为 test,群体的使用者 test:
修改配置文件
worker_processes  4;
worker_rlimit_nofile 65535;
error_log  /home/test/nginx/logs/error.log;
user test test;
pid  /home/test/nginx/logs/nginx.pid;
events {
    use epoll;
    worker_connections  1024;
}
http {
    include       /home/test/nginx/conf/mime.types;
    default_type  application/octet-stream;
    sendfile        on;
    keepalive_timeout  65;
    server {
        listen       8080;
        server_name  localhost;
        root  /home/test/nginx/www;
        location / {
            index  index.html index.htm;
        }
        error_page   500 502 503 504  /50x.html;
        location = /50x.html {
            root   html;
        }
        access_log  /home/test/nginx/logs/access.log;
    }
全路径启动nginx -c参数使用指定的配置文件而不是conf目录下的nginx.conf
/www/env/nginx/sbin/nginx -c /home/test/nginx/conf/nginx.conf &> /dev/null
安装 PHP 7.4,配合 Nginx
安装 PHP 和 PHP FPM 软件包:
apt install php-fpm
检查服务状态,运行:
systemctl status php7.4-fpm
修改权限
chmod 777 /run/php/php7.2-fpm.sock
配置php-fpm
修改配置监听9000端口来处理nginx的请求(这种方法一般在windows上使用),打开 /etc/php/7.2/fpm/pool.d/www.conf 文件找到如下位置注释第一行添加第二行
;listen = /run/php/php7.2-fpm.sock
listen = 127.0.0.1:9000
修改Nginx配置文件
找到下面这部分代码取消注释,修改配置
        location ~ .php$ {
            root           html;
            fastcgi_pass   127.0.0.1:9000;
            fastcgi_index  index.php;
            fastcgi_param  SCRIPT_FILENAME  /scripts$fastcgi_script_name;
            include        fastcgi.conf;
        }
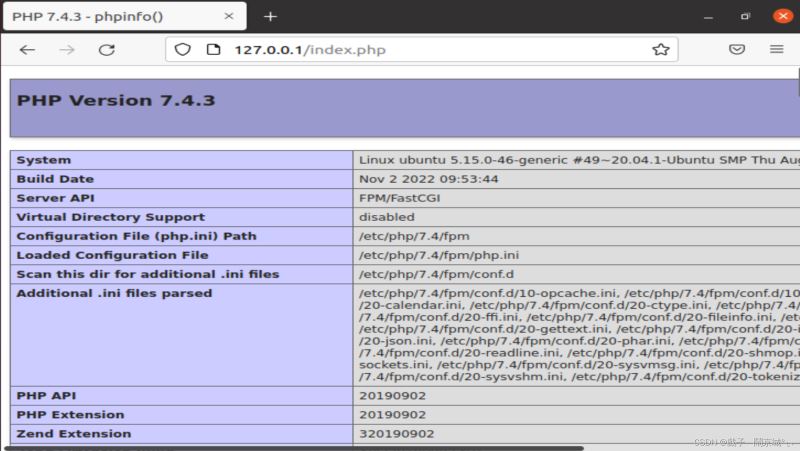
测试:
在/www/env/nginx/html下创建index.php文件:
root@ubuntu:/www/env/nginx/html# cat index.php
打开浏览器:
总结
到此这篇关于nginx降权与匹配php的文章就介绍到这了,更多相关nginx降权 匹配php内容请搜索IT俱乐部以前的文章或继续浏览下面的相关文章希望大家以后多多支持IT俱乐部!

