vuex中的this.$store.dispatch方法
main.js
new Vue({
   el:'#app',
   router,
   store,
   render:h=>h(APP)
 })

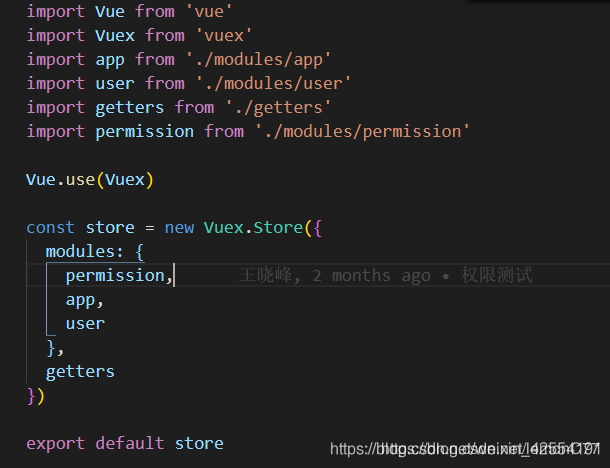
store/index.js
import Vue from 'vue'
import Vuex from 'vuex'
import app from './modules/app'
import user from '.modules/user'
import getters from '.getters'
import permission from './modules/permission'

Vue.use(Vuex)
 const store=new Vuex.Store({
    modules:{
        permission,
	app,
	user
},
getters
})
export default store
在store/modules文件夹里的user.js,声明user并释放出来。
const user = {
  state: {
    token: '',
    roles: null,
    isMasterAccount:true,
  },

  mutations: {
    SET_TOKEN: (state, token) => {
      state.token ="Bearer " +token
    },
  },
  actions: {
    // 登录
    Login({
      commit
    }, userInfo) {
      return new Promise((resolve, reject) => {
        login(userInfo.account, userInfo.password).then(x => {
          if(x.status==200){
            const tokenV = x.data.token.tokenValue
            commit('SET_TOKEN', tokenV)
            document.cookie=`AuthInfo=Bearer ${tokenV};path:/`;
            token="Bearer "+tokenV;
            //setToken("Bearer " +token)
            resolve();
          }

        }).catch(error => {
          console.log("登录失败")
          reject(error)
        })
      })
    },
  }
}
export default user
注:必须要用commit(‘SET_TOKEN’, tokenV)调用mutations里的方法,才能在store存储成功。
handleLogin() {
   this.loading = true
    this.$store.dispatch('Login', this.loginForm).then(() => {
           this.$router.push({
               path: '/manage/merchant/account'
           }); //登录成功之后重定向到首页
           this.loading = false
           // this.$router.push({ path: this.redirect || '/' })
       }).catch(() => {
           this.loading = false
       })
     }
this.$store.dispatch(‘Login’, this.loginForm)来调取store里的user.js的login方法,从而要更新。
vuex 中dispatch 和 commit 的用法和区别
dispatch:含有异步操作,例如向后台提交数据,写法: this.$store.dispatch(‘action方法名’,值)
commit:同步操作,写法:this.$store.commit(‘mutations方法名’,值)
到此这篇关于vuex中的this.$store.dispatch方法的文章就介绍到这了,更多相关vuex中this.$store.dispatch方法内容请搜索IT俱乐部以前的文章或继续浏览下面的相关文章希望大家以后多多支持IT俱乐部!

